
Reviewed · PHOTOGRAPHY SESSIONS
Explore Budapest in Pictures: Guided Tour Photo Tour
Budapest becomes easier to photograph with a plan. This photo tour is interesting because it turns big monuments into shot-making lessons, with small-group attention and practical photo coaching at every stop. The possible downside: there have been reports of guides not showing up at the meeting point, which matters a lot if you are traveling in winter.
You will start at the Chain Bridge and work your way to Buda Castle, Matias Church, the Parliament area, and then finish at Heroes’ Square. A Spanish-speaking guide helps you find angles, manage light, and frame both grand buildings and small everyday details. Bring layers and a steady plan, because this is an outdoor walk with plenty of time spent standing and shooting.
In This Review
- Key things to know before you go
- A 3-hour photo plan that actually helps you see Budapest
- Price and what you really get for $17
- Chain Bridge to Buda Castle, turning iconic views into composed shots
- Castle Quarter and Matias Church: details, light, and medieval textures
- Parliament and the chance for dusk light
- Heroes’ Square finish: statues, symmetry, and monument power
- Meeting point, the umbrella cue, and how to stay calm
- What to bring: shoes, camera, and a daypack mindset
- Suitability and limitations you should respect
- Should you book this Budapest photo tour?
- FAQ
- Where is the meeting point, and how do I recognize the guide?
- How long is the tour?
- What language is the live guide?
- What is included in the price of the tour?
- Are entrance fees or monument interiors included?
- Can I bring my camera or smartphone?
- Is this tour suitable for everyone?
Key things to know before you go
- Umbrella at the meeting point: You will recognize the guide by an umbrella, so arrive a bit early.
- Small group, tailored advice: Coaching is meant to match your level, not just a generic lecture.
- Monument-to-detail approach: You practice framing the big stuff, then switch to smaller textures and architecture.
- Daylight first, dusk if conditions allow: Parliament shots may include soft dusk light if timing and weather line up.
- Not all interiors are covered: If you want inside views, you will likely pay entrance fees separately.
- You get extra photos after: The guide takes additional pictures and sends them to you afterward.
A 3-hour photo plan that actually helps you see Budapest
Budapest is not short on photo spots. The challenge is knowing what to aim for, where to stand, and how to make your pictures look intentional. This tour is built around that exact problem, with a camera-in-hand route that moves you through the city’s most recognizable views while you learn composition and light management in real time.
I like that the teaching is described as personalized. That means if you are on a smartphone, or you have a more serious camera, you are not just watching other people shoot. You are getting feedback and ideas tied to what is in front of you. That matters in a place like Budapest, where the scenery is dramatic, but the “best” viewpoint can be a matter of one small step.
The biggest consideration is reliability. In the booking feedback provided with this experience, there were cases where the guide did not arrive and people waited a long time at the meeting point, including in very cold temperatures. So, if you book, treat your day like you would for any outdoor tour: confirm details and plan for a possible delay.
Price and what you really get for $17
$17 for three hours in one of Europe’s most photogenic cities can be a good deal, if the day goes smoothly. The value comes from what is included, not just the route.
Here is what you are paying for:
- A professional photo tour guide with local experience
- A personalized walk through major places (so you do not waste time guessing where to go next)
- Photo advice and tips tailored to your level
- Help finding unique angles and access to some photo-friendly spots
- Local transportation if needed between more remote points
- Additional photos taken by the guide, sent to you afterward
- Small groups for more individualized attention
- Additional recommendations material to keep improving after the tour
- A relaxed, friendly atmosphere
What is not included is also important. You should expect to fund your own meals and drinks, and you should pay any entrance fees if you decide to go inside museums or monuments. The listing specifically notes that interior access is not covered for paid sites like the interior of Buda Castle and Matias Church.
In plain terms: if your goal is better photos and faster learning, $17 can make sense. If your goal is a museum day with fully guided entrances, this is probably not the right format.
More golden-hour vantage points:
- Private photography photo session at Fisherman Bastion
★ 5.0 · 269 reviews - Budapest photoshoot&sightseeing
★ 5.0 · 107 reviews - Budapest: Walking Tour and Photoshoot with Digital Photos
★ 4.7 · 82 reviews
Chain Bridge to Buda Castle, turning iconic views into composed shots
The tour starts at the Chain Bridge, and that is a smart choice. It is one of Budapest’s most recognizable silhouettes over the Danube, and it is wide enough to give you options: straight-on architecture shots, angles that emphasize the bridge lines, and panoramas that include the river and skyline.
You will not just take photos and hope they turn out. The focus is on learning how to capture the essence of each corner. At the Chain Bridge, that usually means practicing framing. Think about how the bridge structure can guide your eye toward landmarks on the other side, and how you can use the river as a clean “stage” for reflections.
Then you move toward Buda Castle. This is where the photo challenges get real in a good way. You get cobblestone alleys and steep streets, plus big city views. The guide’s job here is to help you manage light and choose viewpoints that make the scene look layered instead of flat. You are also doing this while walking, which means you should keep your camera ready but not flailing. Comfortable shoes are not optional. Those uneven stones can turn a photo mission into a tripping mission fast.
If you want a takeaway that pays off later, it is this: you are learning to treat “position” like a tool. The same subject can look totally different depending on your height, your angle, and what else ends up in the frame.
Castle Quarter and Matias Church: details, light, and medieval textures
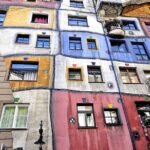
After Buda Castle, the route moves through the Castle Quarter, where the city shifts from grand vistas to textured street scenes. This is where colorful facades, older gates, and architectural details give you plenty of subjects that are not just “big and famous.”
I like that the tour keeps switching modes. One moment you are working with light and framing for a wide view. The next, you are looking for the smaller, everyday moments that make a city feel lived-in. In a neighborhood like this, you can often get better photos by slowing down. You will see that right away when you are hunting for patterns in doorways, window shapes, stonework edges, and the way sunlight hits old surfaces.
Then comes Matias Church, known for its brightly tiled ceiling and its medieval story. Even if you do not go inside, the outside can still give you strong photo results. The key is how you frame the details. Tiles can be tricky because the colors can pop hard in bright light. You will likely get guidance on how to balance what you are seeing with what your camera is capturing.
One practical note: the interior of Matias Church can require an entrance fee, and that is not included. So you may decide to shoot from the outside, or you may choose to budget for access if the interior experience matters to you.
Parliament and the chance for dusk light
Next, you head toward the Parliament of Budapest, one of Europe’s most iconic buildings. Day photos here are dramatic enough on their own. But the tour also mentions an opportunity for dusk shots, if conditions permit. That is a big deal for photography, because dusk can soften harsh contrast and bring out Gothic details without the midday glare.
From a photographer’s perspective, Parliament is a “vertical problem.” You have height, lines, and lots of stone detailing. The compositional goal is usually to avoid a chaotic frame. You want the building to look clean and intentional, not like it is just filling space.
If you are shooting on a smartphone, you will still benefit from learning how to manage framing and lighting. The guide’s focus on light management and composition can help you avoid washed-out highlights on bright days and overly dark shadows when the sky changes.
If your tour timing does not line up for dusk, do not panic. You can still end up with strong shots. The main value is that you get coached on how to approach the scene either way.
Still to cross in Budapest
- Budapest: City Highlights Sightseeing Cruise★ 4.6 · 43,981 reviews
- Budapest: Unlimited Prosecco, Beer and Aperol Spritz Cruise★ 4.8 · 37,304 reviews
- Budapest: Széchenyi Spa Day Ticket with Optional Upgrades★ 4.3 · 23,911 reviews
Heroes’ Square finish: statues, symmetry, and monument power
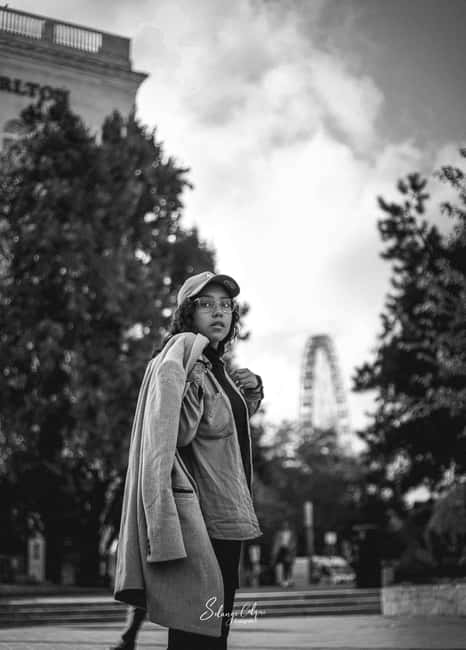
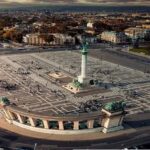
You end at Heroes’ Square, and that is a fitting finale. It is full of history and monumental statues, which are basically a photographer’s cheat code for “big impact” images. But it is also a place where framing matters, because you want symmetry, scale, and clear lines.
At this point, you will likely feel a bit more comfortable with the cycle the tour teaches: look for the best viewpoint, adjust your framing, manage the light, and then take time for a few variations instead of firing one random shot and moving on.
This final stop is also a chance to polish your results. If you have been learning through the day, Heroes’ Square can show what you improved. The guide’s guidance for composition and technique helps you apply what you practiced earlier, now with the added payoff of massive visual scale.
Also, remember this is still a walk. You are finishing with a lot of standing and shooting. Plan for tired feet, not just tired eyes.
Meeting point, the umbrella cue, and how to stay calm
Meeting at Chain Bridge can be busy. So it helps that you will recognize the guide because they will be wearing an umbrella. That is a small detail, but in real life it can save you stress. If you arrive late, you might miss the moment and spend the next 10 minutes trying to figure out who is who.
Now, the part you should not ignore: there are reports tied to this experience of guides not showing up and passengers waiting at the meeting point without confirmation, even in extreme cold. That does not mean it will happen to you. But it does mean you should treat meeting time like a big deal.
Here is how I would reduce risk:
- Arrive a little early so you are not rushing while freezing
- Keep your phone charged and accessible, so you can act quickly if you need contact
- Dress for the weather, even if the plan says photo tour, because you will be outside for a good chunk of time
- Have a simple Plan B in mind, like nearby public transport or a backup photo spot nearby, so the day does not collapse if things run late
The tour can be a great learning experience. Just run it like a serious outdoor session, not a casual stroll.
What to bring: shoes, camera, and a daypack mindset
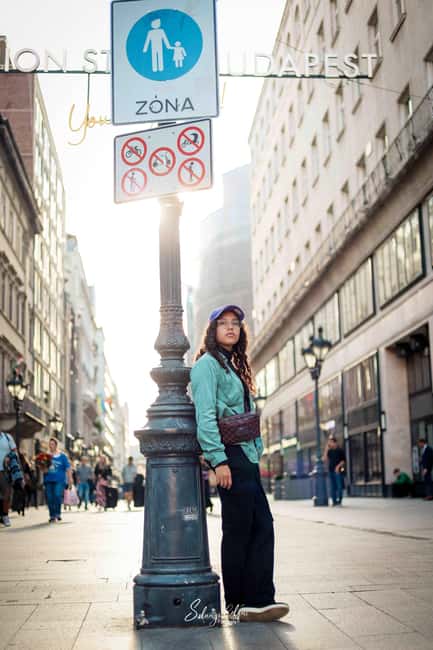
You are outside for about three hours, moving between famous spots. The packing list is basically telling you to show up ready.
Bring:
- Comfortable shoes (cobblestones and uneven surfaces can be real)
- Camera (and you are welcome to bring your phone too)
- Food and drinks (meals are not included)
- Comfortable clothes and layers
- Cash
- A daypack
- A charged smartphone
- A garbage bag
That garbage bag sounds odd until you think about an outdoor walk in changing weather. It can help if you end up with wrappers, tissues, or anything you need to carry until you find a bin.
If you want the best results, treat your camera and phone as tools that you can switch between fast. The tour style is about learning. So you will likely take multiple shots from similar viewpoints, then adjust based on the guide’s composition and light guidance.
Also, pack like you are walking Budapest, not like you are visiting one museum. You will feel that difference when you are moving from Chain Bridge toward Buda Castle and back down to the main sights.
Suitability and limitations you should respect
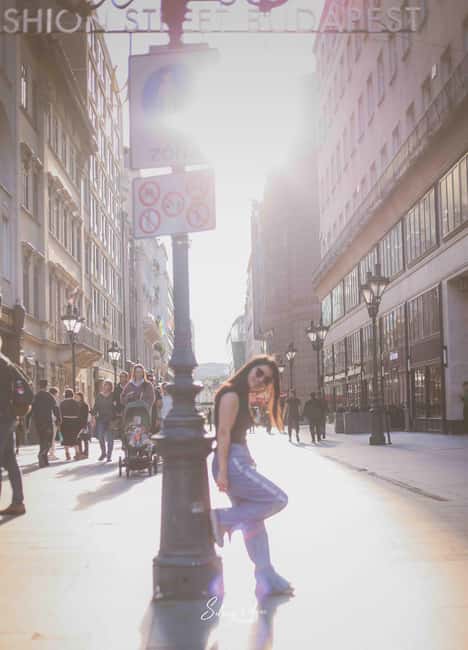
This is not a “everyone can do it easily” tour. The info you have includes several clear limits:
- Not suitable for people with mobility impairments
- Not suitable for people who are visually impaired
- Not suitable for people who are hearing-impaired
- Not suitable for people with a cold
At the same time, the activity is listed as wheelchair accessible. That conflict is worth taking seriously. If you have mobility needs, you should check directly with the provider before booking, so you do not show up expecting one thing and getting another.
There is another simple reality to consider. This is an outdoor photo walk. If you are sick or fighting the cold, you will likely feel worse as you stand and wait for the next shot.
If you are able-bodied, comfortable on your feet, and motivated to learn photo basics, you will likely have the easiest time.
Should you book this Budapest photo tour?
Book it if:
- You want guided photo learning in a classic Budapest route, not just a sightseeing walk
- You like small-group experiences and being coached on composition and light
- You are happy shooting outdoors and taking photos from iconic viewpoints
- You value getting additional photos taken by the guide afterward
Maybe skip it if:
- You need guaranteed on-time reliability and cannot tolerate a worst-case no-show scenario
- You expect entrances to be included for interiors like Matias Church or areas inside Buda Castle
- You have mobility, hearing, or visual accessibility needs that might clash with the walking-heavy nature of the route
My practical advice: if you book, do it with awareness. Arrive early, confirm details day-of, and dress for real outdoor standing. If everything clicks, this can be a smart, low-cost way to learn how to photograph Budapest instead of just photographing Budapest.
FAQ
Where is the meeting point, and how do I recognize the guide?
The meeting point is at the start of the tour near the Chain Bridge area. You will recognize the guide because they will be wearing an umbrella.
How long is the tour?
The duration is 3 hours.
What language is the live guide?
The live tour guide speaks Spanish.
What is included in the price of the tour?
The price includes a professional local photo tour guide, a personalized photo tour through key Budapest spots, photographic advice tailored to your level, access to exclusive locations and unique angles, local transportation if needed between some points, additional photos taken by the guide (sent to you afterward), small group size for individualized attention, and additional material to improve your photography.
Are entrance fees or monument interiors included?
No. Entrance fees to museums or monuments are not included. Places that require an entrance fee, like the interior of Buda Castle or Matias Church, are not covered.
Can I bring my camera or smartphone?
Yes. You are welcome to bring cameras and cell phones.
Is this tour suitable for everyone?
No. It is listed as not suitable for people with mobility impairments, people with a cold, visually impaired people, and hearing-impaired people. The activity is also marked wheelchair accessible, so if you have any accessibility needs, it is worth checking directly before booking.
The newest crossings added in Budapest

Photography Sessions, compared.
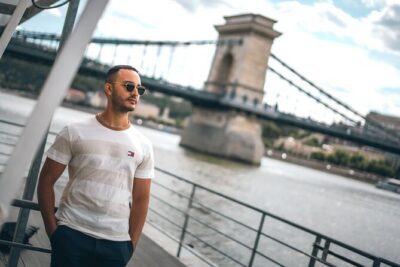
Private photography photo session at Fisherman Bastion
Read our review →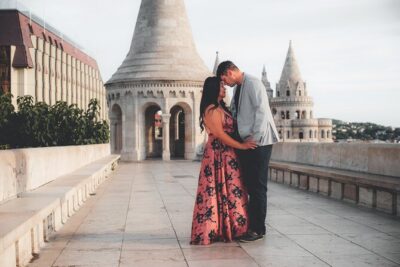
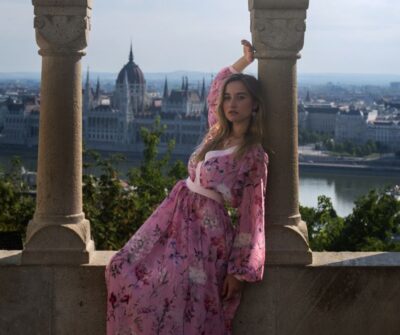
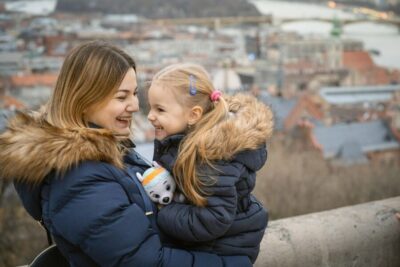
Vacation Photographer to collect great memories
Read our review →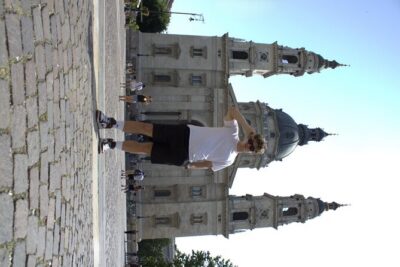
Budapest Private Guided Tour with Photoshoot – Big(3hrs)
Read our review →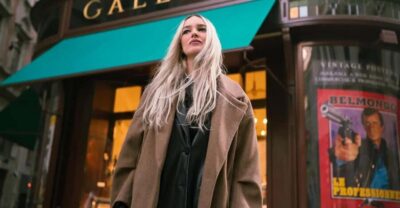
Street photos through the most beautiful streets of Budapest
Read our review →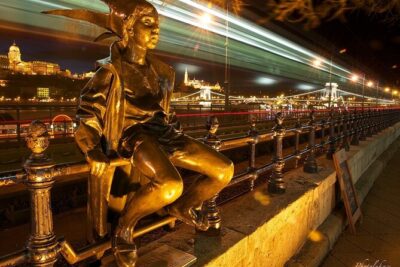
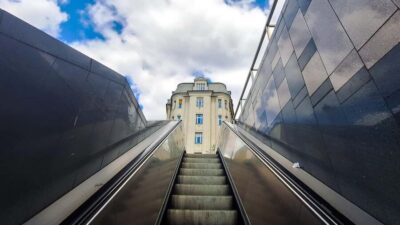
Street photography with your smartphone, tour of Budapest
Read our review →Browse the lists this tour appears in