
Reviewed · SELF-GUIDED TOURS
Street photography with your smartphone, tour of Budapest
Budapest changes fast, so your photos must too. With Luigi Cantel you get smartphone composition basics plus real coaching at the exact points where you can turn ordinary scenes into keepers. I especially liked how the route mixes classic sights with calmer corners, and how you practice while you walk instead of just listening. One thing to consider is that you are mostly on your feet outdoors along a set walking route, so comfy shoes and weather-ready layers matter.
You also get the fun part, drone photos taken with you in the frame, then a chance to watch drone footage showing Budapest’s main sights with your own face in it. At the end, you get a simple workflow for editing in the free Lightroom app, so your shots look more intentional without turning the day into a tech project.
In This Review
- Key highlights you will actually feel during the tour
- Why Budapest street photos are trickier than they look
- Meeting at Fővám tér and setting up your phone correctly
- Liberty Bridge stop: framing scale and motion without chaos
- Central Market Hall: using architecture and light to avoid bland photos
- Kalvin Square: street rhythm, candid chances, and fast decisions
- Subway and metro moment: low light and movement tips that pay off later
- Bikás Park: resetting from stone and noise into calmer frames
- The drone part: why it changes the way you take photos all day
- The endgame: Lightroom editing on your phone, not a computer saga
- Is it worth $16? The value is in coaching plus results
- Who this Budapest smartphone tour is perfect for
- Should you book Luigi Cantel’s Budapest street photography tour?
- FAQ
- How long is the Budapest street photography tour?
- Where do we meet?
- How much does it cost?
- Is the drone included?
- Do I get photos at the end?
- Are landmark entry tickets included?
- Is the tour wheelchair accessible, and is it private?
Key highlights you will actually feel during the tour
- Smartphone prompts in real locations so you learn what to do, then you do it right away.
- A guide who works with you directly using clear instruction and patient pacing.
- Non-touristy points along the way, so your images feel less like a repeat of everyone else’s.
- Drone capture of your journey including footage that frames the big Budapest sights from above.
- End-of-tour Lightroom editing tips for a cleaner look and better balance in your photos.
- Flexible timing based on weather, with a route that stays efficient for a 1-day experience.
Why Budapest street photos are trickier than they look
Budapest is photo-friendly, but it is also visually busy. Boats, bridges, tiled facades, signage, and passersby all compete for attention, so your first instinct is often to shoot everything. The problem is you end up with a camera roll full of shots that feel equal, but not memorable.
That is where a coach helps. Instead of telling you to use fancy gear, Luigi focuses on how a phone sees, how light behaves at street level, and how you guide the viewer’s eye with composition. In the end, you are not just photographing Budapest, you are making choices.
The other reason this works is time. This tour is short, one day, and it keeps moving. You practice on multiple scenes, from big bridges to market interiors to transit spaces, so you build confidence fast.
Meeting at Fővám tér and setting up your phone correctly
You meet at Fővám tér 5, right in front of Starbucks, in a spot that is easy to find and practical for starting. From there, the day is built around walking stops you can reach in a reasonable time, with short photo windows where you can try the same idea in different light.
Before you start snapping, pay attention to your basics. The coaching format matters. You get told what to look for at each stop, then you test it with your phone. If you are worried you will be bad at this, good news: multiple reviews mention Luigi is patient and helpful even when you do not know your way around your phone. That lets you focus on learning instead of panicking.
Also, pick a phone that can handle quick adjustments. If your camera app has options for exposure control, tap-to-focus, or HDR, use them. If not, you can still improve your results by timing, framing, and keeping your edits simple later.
More golden-hour vantage points:
- Private photography photo session at Fisherman Bastion
★ 5.0 · 269 reviews - Budapest photoshoot&sightseeing
★ 5.0 · 107 reviews - Budapest: Walking Tour and Photoshoot with Digital Photos
★ 4.7 · 82 reviews
Liberty Bridge stop: framing scale and motion without chaos
Your first real photo moment is Liberty Bridge, with about 20 minutes there. Bridges in Budapest are not just backgrounds, they are leading lines. They pull the eye toward the river and toward the city beyond.
At this stop, the coaching goal is usually about control. You want a frame where the bridge guides the viewer, and you want enough separation so your subject does not get swallowed by the crowd. If you are photographing people, remember that you do not need to catch every face. A partial profile, a silhouette against the sky, or a clean view of hands on a railing can read better than a blurry full group shot.
Two practical things I like about shooting here:
1) You can practice composition quickly because the geometry is strong.
2) You can experiment with distance, a wide view for context or a tighter crop for texture and detail.
A potential drawback is that bridge areas can feel crowded depending on the day. The trick is to slow down and pick one simple concept per attempt. Do not try to cover the whole bridge at once.
Central Market Hall: using architecture and light to avoid bland photos
Next you head to Central Market Hall of Budapest, again about 20 minutes. Market halls are great for street photography because they mix architecture and human activity. But they also trick your phone camera. Interior light can be uneven, and colors can shift when you shoot under glass roofs or mixed bulbs.
This is where coaching beats guessing. You learn how to photograph correctly with a smartphone by focusing on what the light is doing, and how to choose an angle that makes the scene readable. Even if you do not understand camera settings, you can still improve results by:
- finding a viewpoint where lines stay straight
- using your foreground to add depth
- keeping the key subject bigger than the background
The other value of the market stop is variety. Outside shots give you openness and sky. Inside shots give you patterns, textures, and layers. After you leave, you will feel the difference immediately when you look at your own gallery.
Kalvin Square: street rhythm, candid chances, and fast decisions
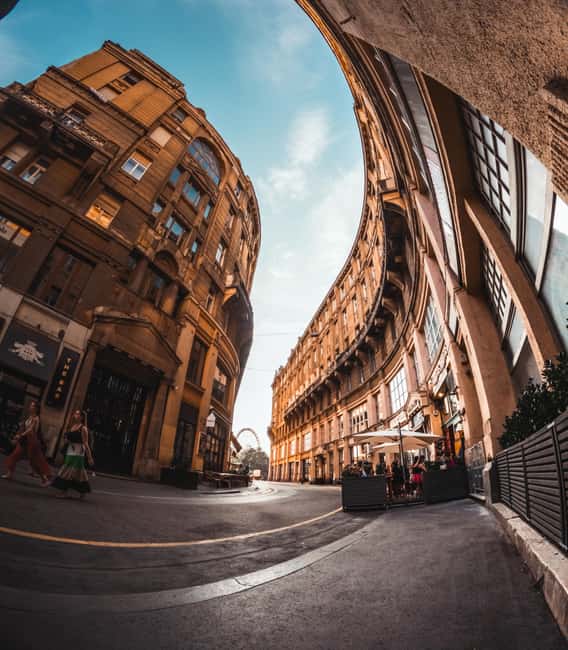
Kalvin Square is another 20-minute stop. Squares are good for learning because they offer multiple story options in a small area. You get pedestrians, transit connections, signage, and open space all in one place.
For street photography on a smartphone, your best friend is a simple plan. Before you lift your camera, decide what you want to say in one line. Maybe it is the contrast of old buildings and modern street life. Maybe it is motion, people crossing in different directions. Maybe it is a quiet moment where someone pauses.
The coaching helps you avoid the common trap of shooting too wide and hoping for magic. Instead, you learn how to build a frame that holds up when you zoom in later. This matters because phone photos often look fine at thumbnail size, then fall apart on a bigger screen.
If you feel self-conscious photographing people, you are not alone. Use the “context” approach. Show a slice of the scene, an interesting doorway, or a view through a corridor. You can still create strong street stories without making it awkward.
Still to cross in Budapest
- Budapest: Parliament Building Entry Ticket and Audio Guide★ 4.5 · 3,844 reviews
- Budapest Danube Cruise with Drink, Audio Guide, Margaret Island★ 4.5 · 1,036 reviews
- Budapest River Cruise with 1 Free Tokaj Frizzante and Audio Guide★ 4.5 · 473 reviews
Subway and metro moment: low light and movement tips that pay off later
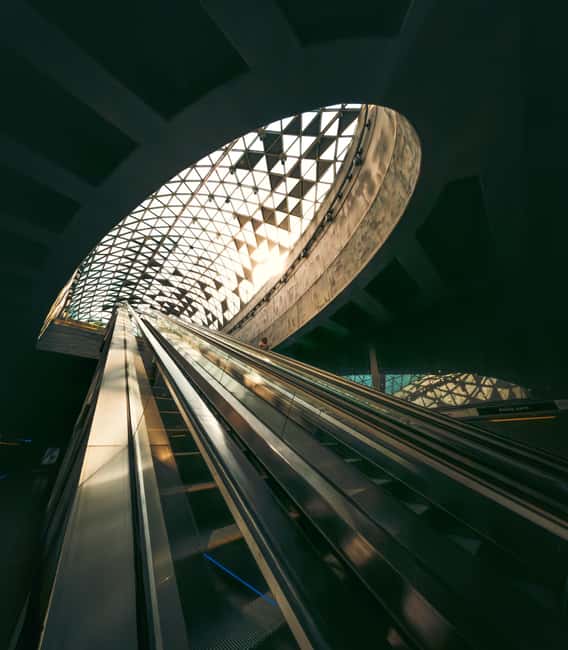
You then spend about 10 minutes on a subway or metro segment. Transit is a tough environment for phones. Light drops fast, motion increases, and your camera can struggle with blur or grain.
This is the stop where the lesson is practical. You learn how to work with the conditions instead of fighting them. Even if you cannot control everything, you can control framing and timing. Wait for cleaner moments, tap to focus where it matters, and keep your expectations realistic. In street photography, a slight softness can be okay if the composition is strong and the subject is clear.
Why this is valuable even if you never post transit photos later: the skills transfer. Once you know how to handle low light without overediting, you will get better night shots and shaded street views across the city.
Bikás Park: resetting from stone and noise into calmer frames
The final photo stop is Bikás park, about 20 minutes, before you return to Fővám tér 5. Parks in a city like Budapest give you breathing room. They also change your light and color palette, which helps your overall set of photos feel varied rather than repetitive.
In a park, you can practice a different kind of street photo. Instead of chasing big landmarks, you can look for small scenes: a path line, a person framed by trees, a quiet corner with less traffic noise. This is also a chance to take portraits-style shots, but with a relaxed vibe that fits the setting.
One reason I like ending with a park stop is pacing. If you started the day at busy bridge traffic and market interiors, you want a softer landing. Bikás park is that reset.
The drone part: why it changes the way you take photos all day
A standout feature here is the drone. You get to watch a professional snap photos of you using a drone, capturing your journey. Then you get to marvel at drone footage showing you with the main sights of Budapest.
This is more than a fun extra. It changes how you look at your own photos in real time. Once you understand that there is a bird’s-eye perspective coming, you start thinking about your placement in the frame. You naturally shift from “get the picture” to “make the picture readable from multiple angles.”
It also gives you something most smartphone tours do not provide. Even if your own framing is imperfect, the drone footage offers a different type of memory, city scale plus your presence.
Practical tip: if you can, wear something that photographs well outdoors, and keep your phone settings consistent. You do not need to fiddle. The goal is to stay calm and present while the drone team gets the shots.
The endgame: Lightroom editing on your phone, not a computer saga
At the end of the experience, you have your photos on your smartphone. If you want help, you are shown how to edit using the free Lightroom app.
This part matters because street photography is a “see it now, decide it later” hobby. Editing is where you make the scene look like what you felt when you were there. The tour keeps this realistic. It is not about turning every photo into a new personality. It is about fixing the common issues phones create: slightly off exposure, washed contrast, distracting backgrounds, and crooked framing.
Here is what you can practice during the editing session, keeping it simple:
- crop to remove clutter at the edges
- straighten if lines look tilted
- adjust exposure and contrast gently, so details come back
- fine-tune white balance if colors feel too cool or too warm
- export in the right size for sharing
If you have ever opened Lightroom and felt lost, do not worry. Reviews highlight that Luigi explains things clearly and patiently. You learn a workflow you can reuse on future trips.
And because editing happens after shooting, you can review what worked at Liberty Bridge, the market, the square, the transit stop, and the park. That feedback loop is where the real improvement happens.
Is it worth $16? The value is in coaching plus results
Price is always personal, so I look at what you actually get. At $16 per person for a 1-day experience, you are paying for:
- a guided walk through a smart mix of photo settings in Budapest
- direct smartphone coaching at specific stops, not generic advice
- professional drone capture of your journey
- a simple end-of-tour workflow for editing in free Lightroom
- photos delivered to your smartphone at the end
If you tried to replicate this on your own, you could walk the same areas and still miss the “why” behind good shots. The coach provides the missing step, turning locations into learning stations. And the drone is a big differentiator, because it is hard to get that perspective without paying for a setup.
Could you do it cheaper by buying a map and copying angles online? Sure. But if you care about learning faster and getting a cohesive set of images, this is strong value.
Who this Budapest smartphone tour is perfect for
This tour fits best if you want more than sightseeing photos. You want to leave with images that look composed, not accidental.
You will probably love it if:
- you travel with only a smartphone and want it to perform better
- you want practical composition guidance you can use immediately
- you like short, focused days instead of long photo workshops
- you want a fun group vibe, but still prefer a more personal pace (small groups are preferred, and being alone is fine)
- you want a memory package that includes drone footage of your trip
It may not be ideal if you hate walking or if you need a fully relaxed, sit-down pace. This is a walking route with photo stops, and the goal is active practice.
Should you book Luigi Cantel’s Budapest street photography tour?
I think you should book it if your main goal is better smartphone photos in real-world Budapest locations, with a guide who is patient and explains composition basics. The drone element alone makes it feel like you get more than a typical photo walk, and the Lightroom editing tips help you finish the job so your images look polished.
If you are a hardcore photographer who wants deep camera settings theory, you might find it more basic. But for most people, especially if you want a day that turns into a usable photo gallery, it is a smart, affordable way to learn.
FAQ
How long is the Budapest street photography tour?
It lasts 1 day, with a walking route that includes multiple photo stops and a short subway or metro segment.
Where do we meet?
You meet in front of Starbucks at Budapest, Fővám tér 5, 1056.
How much does it cost?
The price is $16 per person.
Is the drone included?
Yes. The professional will snap photos of you using a drone, and you will also see drone footage showing you with Budapest’s main sights.
Do I get photos at the end?
Yes. At the end, you will have the photos on your smartphone.
Are landmark entry tickets included?
No. Entry tickets to landmarks are not included.
Is the tour wheelchair accessible, and is it private?
It is wheelchair accessible, and it is a private group.
The newest crossings added in Budapest


Self-Guided Tours, compared.
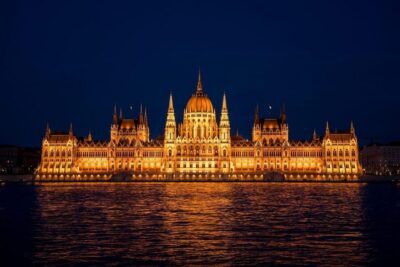
Parliament Building Entry Ticket and Audio Guide
Read our review →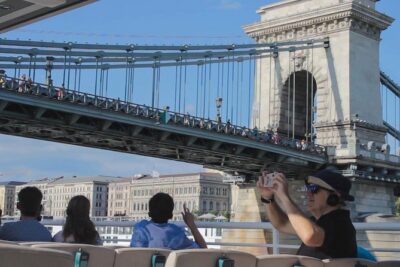
Budapest Danube Cruise with Drink, Audio Guide, Margaret Island
Read our review →
Budapest River Cruise with 1 Free Tokaj Frizzante and Audio Guide
Read our review →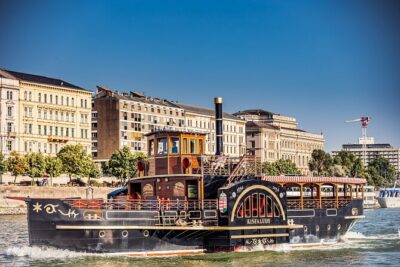
Budapest Paddle Steamer Danube Cruise with Tokaj & Audio Guide
Read our review →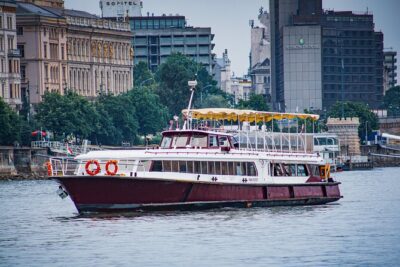
Budapest Audio Guide Cruise with Day, Sunset and Night Options
Read our review →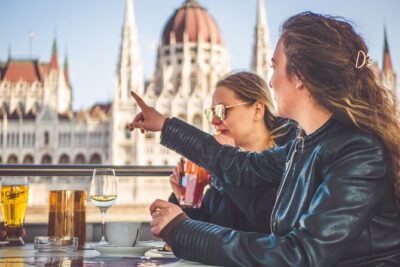
Sightseeing Cruise on the Danube with Audio Guide in Budapest
Read our review →
Budapest Danube 1 Hour Sunset or Night Cruise with Audio Guide
Read our review →
Browse the lists this tour appears in