Reviewed · BUDAPEST TOURS & ACTIVITIES
Budapest Photo Walks
Budapest at photo-hour feels like magic. This 2 to 3 hour walk turns big-name views into real photo practice, with guide Zoltan explaining what to do and where to stand. I also love that the route can be day or nighttime, and it stays flexible around your requests and the weather.
The main drawback is that it is still a walking tour with several quick viewpoint stops. If you want long hangs at just one place, plan to be a bit adaptable, since the exact number of spots you hit can vary based on fitness and conditions.
In This Review
- Key highlights I’d plan around
- Why this Budapest photo walk feels useful, not just scenic
- Price and value: what you really pay for
- Meeting at Batthyány tér: how to start smoothly
- The pacing and what “customizable” means in real life
- Gellért Hill: the day and night anchor of the whole walk
- Castell de Buda and the Chain Bridge viewpoint at night
- Liberty Bridge: where you layer bridge lines with Gellért Hill
- Batthyány Square and the Parliament-style view
- Off-the-beaten-track viewpoints you can actually use later
- What Zoltán’s coaching style means for your photos
- Camera settings, composition, and tripod use: what to focus on
- Who this photo walk is best for
- Should you book Budapest Photo Walks?
- FAQ
- How long is the Budapest Photo Walk?
- Is there a choice between day and nighttime tours?
- What is included in the tour price besides the guide?
- Where do I meet the guide?
- Does the tour require admission tickets at the stops?
- What language is the tour offered in?
- What is the maximum group size?
- What is the cancellation policy?
Key highlights I’d plan around
- Tripod included, so you can practice long exposures and steadier framing right away
- Day or night options, with the same core viewpoints working in different light
- 4 to 5 main view points, custom to your needs and pace
- Off-the-beaten-track angles, designed to get photos away from the densest crowds
- Zoltan’s patient guidance, with clear explanations if you want help with composition or camera settings
- Small group size, max 2 travelers, which makes it easier to get personal feedback
Why this Budapest photo walk feels useful, not just scenic
A photo tour only works if you leave with better results, not just more photos on your phone. This one is built around viewpoint time plus coaching, so you learn how to frame what you see and how to adjust when the light changes.
I like that the focus stays practical. If you are a beginner, you can ask about composition and camera settings, and the guide can bring it down to steps you can actually use while you are standing on a hill or bridge at night.
Budapest is perfect for this because it is all about angles and atmosphere. You get river views, bridge lines, church and fortress silhouettes, and city lights that ask for different approaches than daytime shooting.
Price and value: what you really pay for
At $179.74 per person, this is not a bargain group deal. But you are paying for a tight package: a 2 to 3 hour guided route, flexible day or night scheduling, and a tripod included.
The tripod matters more than it sounds. Night photography often needs steadier shots, and having the tripod on hand means you can actually try longer exposures and calmer framing instead of just guessing and hoping.
You also get customization. Instead of a fixed, rigid checklist, the guide can cover about 4 to 5 main viewpoints depending on your requirements and fitness, and you can agree on extra time and places if conditions allow.
Still to cross in Budapest
- Budapest: City Highlights Sightseeing Cruise
★ 4.6 · 43,981 reviews - Budapest: Unlimited Prosecco, Beer and Aperol Spritz Cruise
★ 4.8 · 37,304 reviews - Budapest: Széchenyi Spa Day Ticket with Optional Upgrades
★ 4.3 · 23,911 reviews
Meeting at Batthyány tér: how to start smoothly
The tour starts and ends around Batthyány tér (HBudapest 1011). You meet in front of the metro M2 station, and the exact end point is agreed with guests at the beginning of the tour.
That matters because Budapest is a maze of hills, staircases, and viewpoints. Agreeing on the ending location early helps you avoid that last stretch where you are tired, your camera is heavy, and you still need to get yourself back.
No private transportation is included, so you will rely on your own way to get to Batthyány tér. The good news is the meeting point is near public transportation, which keeps this practical for most visitors.
The pacing and what “customizable” means in real life
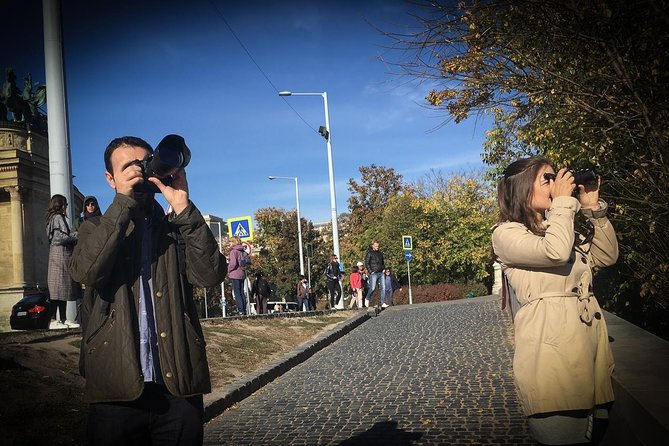
The walking time is usually spread across viewpoint stops, with short bursts of shooting and guidance. You can expect around 15 to 20 minutes at many stops, which is enough to set up, take a few frames, and refine your composition without turning the trip into a marathon.
Your guide adjusts on the fly based on your personal needs and fitness. If you want a slower pace, more time at one angle, or you prefer a certain style (wide shots, bridge lines, city lights), you can discuss it.
Weather plays a big role in nighttime photography. Clouds, rain, and visibility will change what looks best, and the itinerary can shift so you still get images you like.
Gellért Hill: the day and night anchor of the whole walk
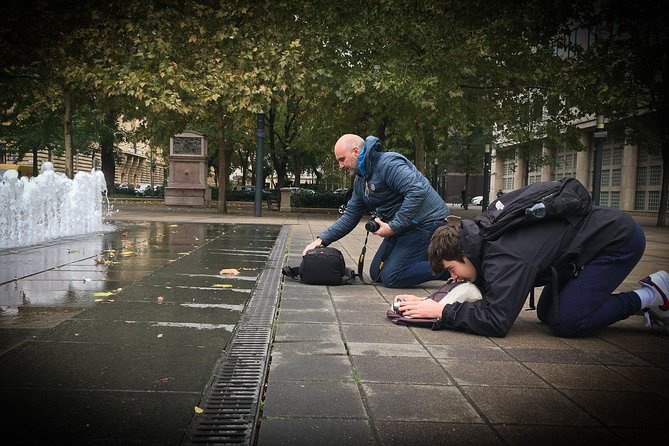
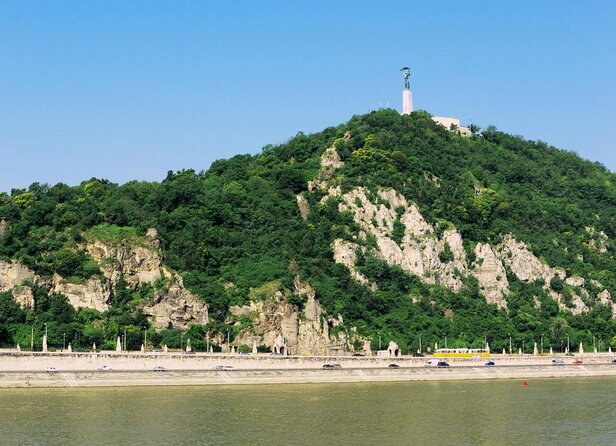
Gellért Hill is where you start thinking in layers. From here, you can aim for broad city views in the daytime, and at night you can work with illuminated buildings and dramatic contrast.
During the tour, you can cover multiple main view points around Gellért Hill, typically with enough time to explore different compositions. The stop is listed as part of both day and night tours, so it works as the visual anchor even when the rest of the route changes.
What to do here:
- Practice framing the horizon and leading lines, especially if you want the Danube and bridge geometry to feel intentional.
- If you are using a tripod at night, test a couple of positions before committing to longer exposures.
One small consideration is that hill areas often mean uneven ground and some climbing. If your fitness is limited, tell the guide early so they can adjust the exact viewpoints while still hitting great angles.
Back across the water in Budapest:
- Budapest: Nighttime or Daytime Sightseeing Cruise★ 4.2 · 21,062 reviews
- Budapest: By Night Sightseeing Cruise with Welcome Drink★ 4.3 · 15,533 reviews
- Budapest: St. Stephen’s Basilica Entry with Options★ 4.6 · 12,322 reviews
Castell de Buda and the Chain Bridge viewpoint at night
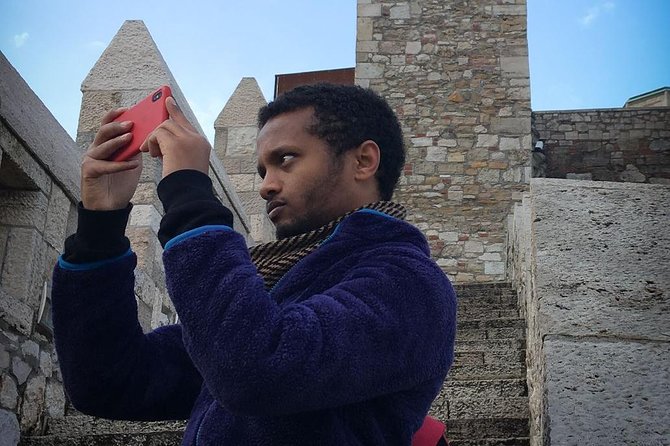
Castell de Buda shows up on the night itinerary only, which is smart. The fortress area and the surrounding architecture are made for evening light, and night photos tend to reward a steady setup more than rushed shooting.
In this part of the walk, you get a view that connects the urban skyline with the river and the bridge lines. The stop also includes the roundabout and Chain Bridge view, so you can compose with stronger “structure” than you might get from flatter streets.
Night shooting is where Zoltan’s coaching really pays off. If you want help choosing settings, thinking about stability, and avoiding blurry results, this is the moment to ask. His approach is patient and clear, so it is not just stand here and click.
Tip you can use right away: take a quick test shot, check your sharpness, then commit. At night, small adjustments in position can change reflections and the way lights cluster in your frame.
Liberty Bridge: where you layer bridge lines with Gellért Hill
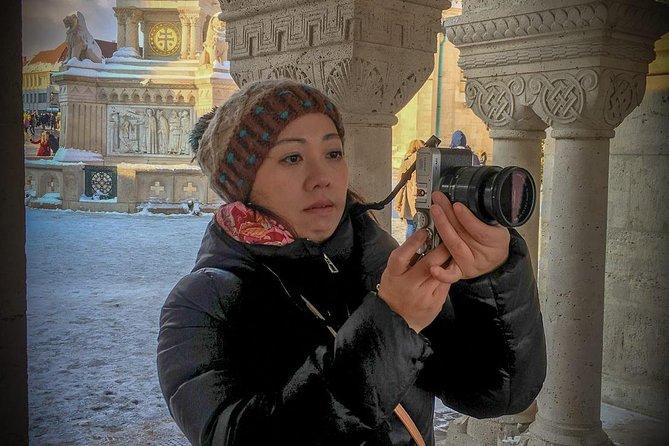
Liberty Bridge (Szabadság hid) is a classic bridge subject, but the tour adds a key twist: you also get Gellért Hill in the composition. That means you are not just photographing a bridge, you are building a relationship between two icons of Budapest.
This stop usually runs about 20 minutes, which is enough to test wide frames and also try tighter compositions that emphasize the bridge geometry. If you like photos with strong lines, this is one of the best places to practice.
Day versus night also changes what you should emphasize. In daylight, you can focus on shape and proportions. At night, you can focus on contrast and how the bridge lights and hill lighting interact.
Practical note: bridges can feel windy. If you are using the tripod, place it carefully and keep an eye on stability so you do not fight blur.
Batthyány Square and the Parliament-style view
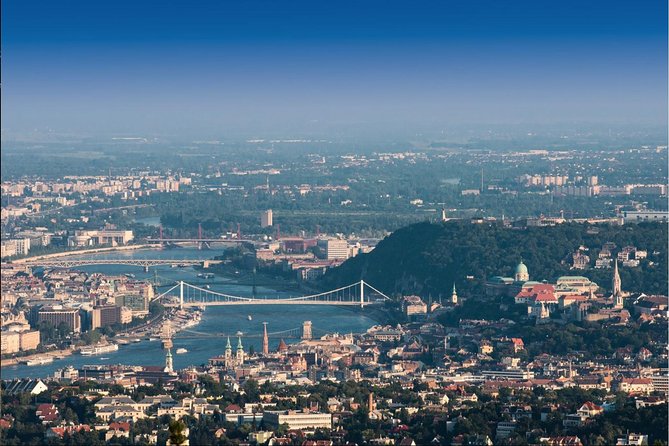
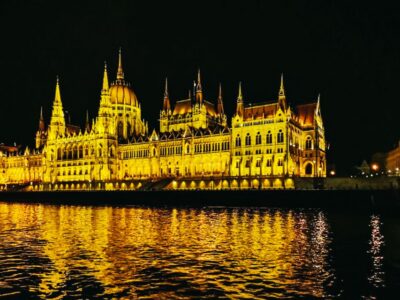
Batthyány Square is often your “wow, I get it now” moment. This is where you aim for a classic view with the Parliament in the background, and it is part of both day and night tours.
You get about 15 minutes at this stop, and that time is best spent picking your framing early. Try a wide shot first, then switch to a slightly different angle if you can. That way you leave with options, not just one attempt.
Daytime here can be about clarity and clean lines. At night, the area becomes about reflections and light balance, where the tripod and deliberate composition help you get results you can be proud of.
Also, since the itinerary adapts to your needs, you can tell the guide what you want most: a more scenic overview, or a tighter shot that makes the Parliament feel dominant in the frame.
Off-the-beaten-track viewpoints you can actually use later
One of the best promises of this walk is that you will not only shoot the most obvious tourist angles. The route is designed to find off-the-beaten-track vantage points, so you get variety without spending your whole vacation trapped in the same crowd.
Even if you have your heart set on Parliament and bridges, these side angles matter. They give you depth when you look back at your photos, because you have shots that feel like Budapest, not just shots that look like every travel brochure.
This is also where the small group size helps. With a maximum of 2 travelers, you are more flexible in how you move and where you pause, and the guide can more easily adjust to your comfort level.
What Zoltán’s coaching style means for your photos
A guide can be friendly and still not help you shoot better. This guide’s advantage is that he explains things in a way that you can use in the field.
In particular, he is patient and understandable when it comes to photography basics. If you want to learn composition, he can help you notice what makes a frame work. If you want help with camera settings, you can ask, and the explanation can fit what you are trying to capture right now.
There is also a historical layer. The city stories and context are not random facts, they connect to why the viewpoints look the way they do and why certain angles feel meaningful.
If you are the kind of person who wants to understand what you are photographing, this balance makes the walk more than an exercise in taking pictures.
Camera settings, composition, and tripod use: what to focus on
The tour is not only for people who already know their camera. It is also for beginners who want an on-the-ground primer.
Here’s how I’d think about it during the walk:
- Prioritize composition first, meaning your lines, your subject placement, and your balance between buildings and sky or water.
- If you are shooting at night, use the tripod when you can and take test frames to confirm sharpness.
- Ask the guide before you start locking in settings, because minor changes in position often matter as much as settings.
Tripods can feel annoying when you are traveling light. But here, having one included turns it into a tool you can actually use on demand, especially at night stops and bridge viewpoints.
Who this photo walk is best for
This experience is a great match if you want:
- Better photos without studying for weeks first
- A day or night route built around real viewpoints
- Help with composition and camera settings, especially if you are new
- A small, low-pressure format with personal attention
It also helps if you enjoy history and want context tied to where you stand. The guide’s city knowledge can add meaning to the visuals, and it makes the time feel less like waiting between shots.
You might want to reconsider if you hate walking with some hill terrain or if you need long stays at every single spot. The tour is built around short viewpoint windows, and the pace can shift based on fitness.
Should you book Budapest Photo Walks?
Yes, if you want a guided photo plan that teaches you as you go. The combo of day and night options, viewpoint variety across Gellért Hill, bridges, and Batthyány Square, and the included tripod makes it a strong value for people who want real improvement.
Book it especially if you feel unsure about photography basics. With Zoltán’s patient, clear explanations, you can ask questions while the subject is right in front of you, which is the fastest way to learn.
If you already know your settings and you only want a self-guided loop, you might not get as much extra value. But if you want help choosing angles, refining framing, and getting night shots that are actually steady, this is an easy yes.
FAQ
How long is the Budapest Photo Walk?
It runs about 2 to 3 hours.
Is there a choice between day and nighttime tours?
Yes. You can choose between day or nighttime itineraries with flexible dates and times.
What is included in the tour price besides the guide?
A tripod is included.
Where do I meet the guide?
You meet at Batthyány tér in front of the metro M2 station. The exact end point is agreed with you at the start of the tour.
Does the tour require admission tickets at the stops?
The listed viewpoint stops show admission tickets as free.
What language is the tour offered in?
It is offered in English.
What is the maximum group size?
The tour has a maximum of 2 travelers.
What is the cancellation policy?
You can cancel for a full refund up to 24 hours in advance of the start time.
The newest crossings added in Budapest


Budapest Tours & Activities, compared.
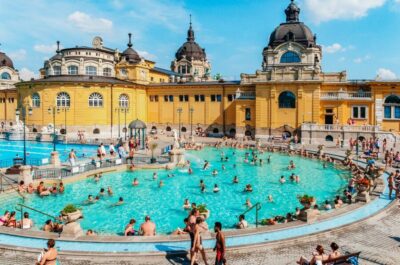
Széchenyi Spa Day Ticket with Optional Upgrades
Read our review →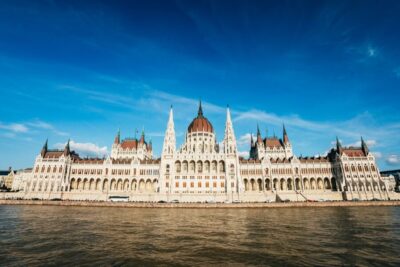

By Night Sightseeing Cruise with Welcome Drink
Read our review →
Budapest Danube Cruise and Dinner Options, Live Music and Dance
Read our review →